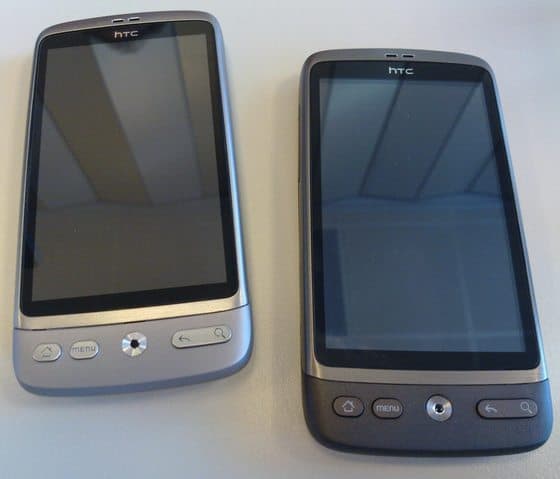
HTC Desire is a pretty cool Android Smartphone. The Smartphone was released back in 2010, and had specifications that very pretty decent at that time. However, if you own a HTC Desire, and if you would like to upgrade it to Android 4.0 ICS, then you need to root the device and install a custom ROM in it.

If you’re searching for a tutorial to root your HTC Desire, then we can help you out. As today, we will be posting a detailed tutorial on how to root HTC Desire and install CWM recovery.
Warnings:
Before actually proceeding into the rooting guide, we would like to provide you some important warning messages, regarding rooting and it’s consequences:
- Rooting your HTC Desire will void its warranty. And hence, you’ll not receive any warranty protection for your HTC Desire, after rooting it.
- Only download resources, from the links that we mention within the article.
- Carefully follow the rooting guide. A faulty step may damage your Smartphone.
- We are not responsible in case your Smartphone gets damaged or bricked. So proceed at your own risk
Also See: Advantages and Disadvantages of Android Rooting – Must Read
Prerequisites:
Please fully read and complete the prerequisite procedures mentioned below, in order to begin the rooting process:
- Enable USB Debugging on your HTC Desire.
- Make sure your Smartphone has at least 80% of battery backup.
Also Read: How to Save battery life and RAM in Android Mobiles
- Make sure your computer has the driver of HTC Desire installed. Else install it from here
- Download the root kit from here
How To Root HTC Desire And Install CWM Recovery
Make sure you have thoroughly gone through and followed the warnings and prerequisites section. If yes, then below is the detailed tutorial on how to root HTC Desire and install CWM recovery:
- Shut down your HTC Desire, and boot into recovery mode by pressing Volume Down+Power buttons at the same time.
- From the recovery menu, navigate to H BOOT USB, and click on it.
- Once clicked, your Smartphone will then check for updates. Do not interrupt the process.
- After the process gets completed, connect your Smartphone to your computer.
- Now go to the My Computer on your desktop. From the My Computer window, right click and then select properties.
- A new properties window will appear. From the window, navigate to Devices Manager.
- From the list in the Devices Manager menu, you can find an option like “Android“.
- Highlight the Android option and right click on it.
- After right clicking, select the software titled “Update Driver“.
- Now select the HTC driver, that you installed before.
- After selecting the HTC driver, the downloading process will begin.
- After completing the download process, disconnect your Smartphone from your computer.
- Reconnect your Smartphone to your computer.
- And now, click on the rooting kit you downloaded before.
- Run the .exe file from the rooting kit.
- Follow the on-screen instructions.
- Copy the update.zip file to your external SD card and disconnect your Smartphone from the computer.
- Once again power off your Smartphone and boot into recovery mode [Volume Down+Power].
- Now from the menu,choose “Install Zip From SD Card“.
- Now navigate to the update.zip file that you copy/pasted to your SD card earlier.
- Click on it and confirm by pressing “Yes“.
More HTC Rooting Guides
- How to Root HTC EVO 4G
- How to root HTC Explorer | Step by Step Guide
- How To Root Htc Wildfire S And Install CWM Recovery
Now the rooting process will begin. The whole process will take 5-6 minutes, and your Smartphone will reboot after rooting. So please wait patiently!
