Installing Windows 11 on GNOME Boxes comes with many limitations. Windows 11 runs in low-performance mode at a screen resolution of 800×600 pixels without clipboard integration.
You can install Windows 11 on GNOME Boxes, which is one of the easiest tools that can run Virtual Machine on Linux. The process only requires the creation of the box, selecting the ISO file of the operating system and the virtual machine is ready for action. Previously, the installation of Windows 10 on a Virtual Machine had an easier process.
Things have changed drastically with Windows 11 with few requirements that are essential for the installation making it quite difficult. Microsoft has made things a bit harder to the point where the system needs to have a piece of specific equipment. All the credit regarding those will go to the TPM and secure boot on the latest Windows version.
Both the TPM and Secure boot are the two essential checks made by the installation file of Windows 11 on the system. If the computer, isn’t compatible with the required secure boot and TPM versions, the installation doesn’t move further. However. You can bypass these checks and install Windows 11 on GNOME boxes quite easily.
Getting Started With Installing Windows 11 on GNOME Boxes
Windows 11 has increased its requirement of hardware for running when compared to the Windows 10 version. The latest version of the operating system from Microsoft requires more RAM and storage space. Moreover, the GNOME Boxes on Linux don’t support TPM and UEFI Secure Boot environment as standard.
The underlying technology of virtualization of the GNOME boxes does support both the security checks of Windows 11. We just have to tweak the configuration options of the virtual machine and then install Windows 11 on the GNOME boxes.
Hardware Requirements to Install Windows 11 on GNOME Boxes Virtual Machine
The process for installing Windows 11 on GNOME Boxes has the following hardware requirements:
- The Windows system needs around 124 GB of storage to run efficiently. It doesn’t require this much space while installing but needs it after the Windows updates.
- The system even needs a minimum of 8GB RAM and the GNOME Boxes and the virtual machine alone needs 2GB RAM. The computer should come with 12GB of RAM for no hiccups while working.
- Lastly, the processor should have support for any virtualization technology. If it’s an AMD then it should have the AMD-V or if it’s an Intel Chipset, the chipset should feature VT-x technology. You can turn on this feature from BIOS if it’s turned off by default.
Setting up GNOME Boxes, Virtual Machine, and Software TPM
You should have a basic knowledge of Linux and regarding the installation of software packages from its distribution’s package repository from the terminal. The package repository differs from each version; Fedora Linux has the “dnf” tool. Whereas, Debian and Ubuntu have the “apt” tool.
- Install GNOME Boxes from your Linux distribution package repository
- You can search for gnome-boxes and install version 40 or higher
- Now, install the TianoCore Open Virtual Machine Firmware (OVMF) from the package repository. The package is called edk2-ovmf in Fedora Linux 34 and ovmf in Ubuntu 22.
- Then go for the installation of swtpm emulator or software TPM from the package repository. The name of the package is swtpm-tools on both Fedora Linux 34 and Ubuntu 22.
- Lastly, run the below command in the terminal to setup the SWTPM on the system
swtpm_setup --create-config-files skip-if-exist - Reboot the current session of the Virtual Machine to apply the changes

Installing Windows 11 on GNOME Boxes
Firstly, download the original ISO file of Windows 11 from the Microsoft website. If you are ready with the downloaded Windows 11 ISO file, then we can proceed to the installation process.
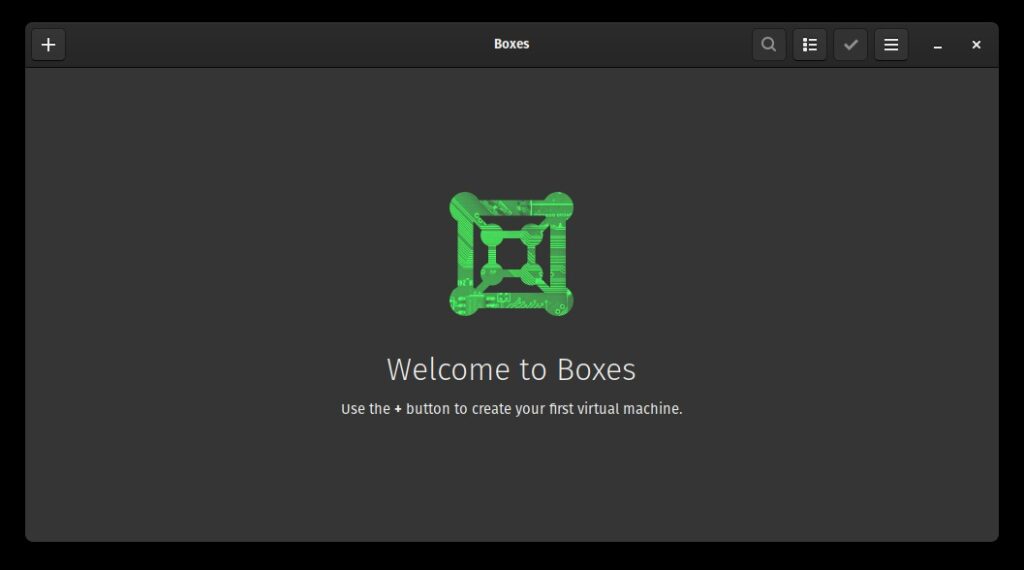
- Open GNOME Boxes and click on the + button provided in the top left corner to create a new Virtual machine.

- Now, select the Windows 11 ISO file you previously downloaded.
- You can even go for the select disk image option located at the bottom of the dialog instead.
- Here, don’t go forward with the Express installation process and only click on the Next button in the top right corner.
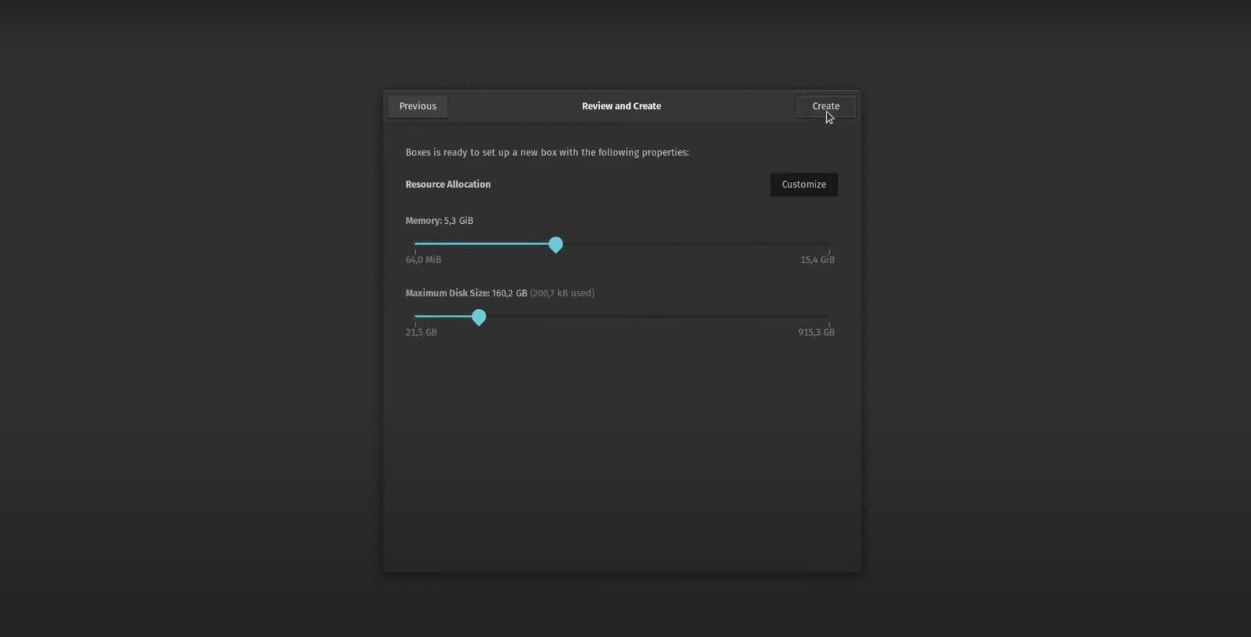
- On the next screen, you’ll see assigning of storage for the Windows 11 system.
- Select at least 8 GB of RAM and 124GB of storage space for the operating system.
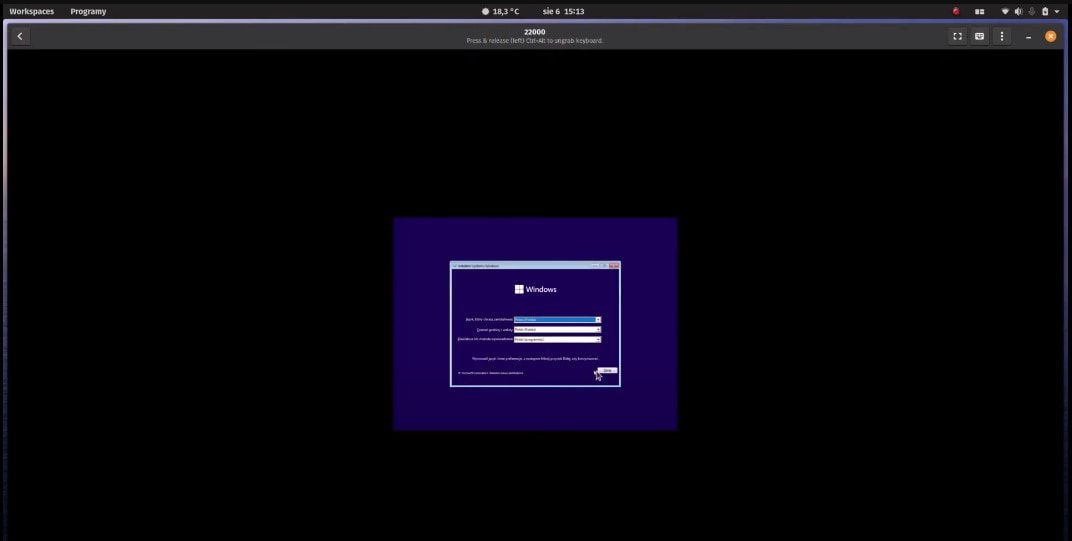
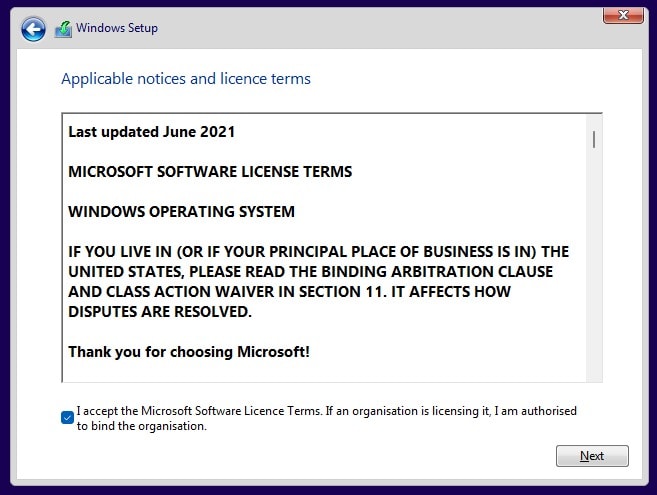
- Then, you can click on the Create button. The VM will show you the Windows installer boot-up and prompts you to select your preferred language.
 Note: Don’t proceed to the installation right away as the process to shut down the VM is a bit tricky. Follow these next steps carefully to shut down the VM correctly as the GNOME Box has a few design flaws. Working on the same in the middle of the installation might not shut down the VM completely which may lead to issues.
 - Close the installation by clicking the round X icon on the top right of the window inside the VM.

- Now, wait for 20 seconds and let the VM’s preview image load.
- Right-click on the VM and Force shut down the machine and the preview image will still continue to load.
- Quit the windows and restart the GNOME boxes, after which the loading preview image stops and turns into a powerful symbol.
Note: The above-mentioned process was done as the GNOME Boxes have to restart the VM twice as a part of the installation. If the VM restarts two times, it may end up in a buggy situation and to avoid that, you need to go through this process. In the next stage, you need to make a few manual changes to the VM configuration before installing Windows 11. - Here, right-click on the VM and select Properties > Advanced, and click on the Edit Config button.
- In the line that says <devices>, find TPM and change the version to 2.o. If not present, add the below lines next to <devices>
<tpm model=”tpm-crb”>
<backend type=”emulator” version=”2.0″/>
</tpm> - Now under <os> check for the following line<type arch=”x86_64″ machine=”pc-q35-6.1″>hvm</type>
If it is different from the above-mentioned line. You need to enable virtualization in BIOS, delete the VM, and start again
- Open the OVMF file location and check for the OVMF_CODE.secboot.fd file. Once found, copy the file path to the clipboard.
- Here, check for loader till the </os>. If you haven’t found any line referring the loader, then insert following below line
<loader readonly=”yes” type=”pflash”>/FILE_PATH_LOCATION/OVMF_CODE.secboot.fd</loader>Here don’t forget to replace the text FILE_PATH_LOCATION with the actual path of the OVMF_CODE.secboot.fd file. - Click on the Apply button and restart the GNOME Boxes.
- Now, right-click on the VM and select Properties > Devices and Shares: CD/DVD
- The image will be deleted automatically after the system gets shut down at the exit of installation. You click the Select button and then reselect the Windows 11 ISO file again and close the Properties dialog.

- Lastly, Double-click on the VM in GNOME boxes to start and resume the Windows 11 installation.
Use Windows 11 on Virtual Machine in GNOME Boxes
In this way, you can install Windows 11 in GNOME boxes Virtual Machine and come across fewer to no issues. After the installation, the VM will run the Windows OS in low performance and at a screen resolution of 800 x 600 pixels and no clipboard integration on the system.
You can install VirtIO – a guest agent and driver set which is called virtio-win-gt-x64.msi. On the other hand, you can use the SPICE guest agent by downloading it from the repository. The driver works without any issues with Windows 11 but doesn’t support the OS officially.

Too Hard to understand….VMware is better for ubuntu host